5 Steps for Great Usability Testing
Usability testing, also known as UX testing, is one of the best tools to get your user’s pulse. The basics of usability testing are simple: we sit a user in front of a website and ask him or her to complete specific tasks. Meanwhile, a moderator collects impressions and comments. Obviously, usability testing is a little more complicated than that in practice. Here is a summary of the five steps that make a great usability test.
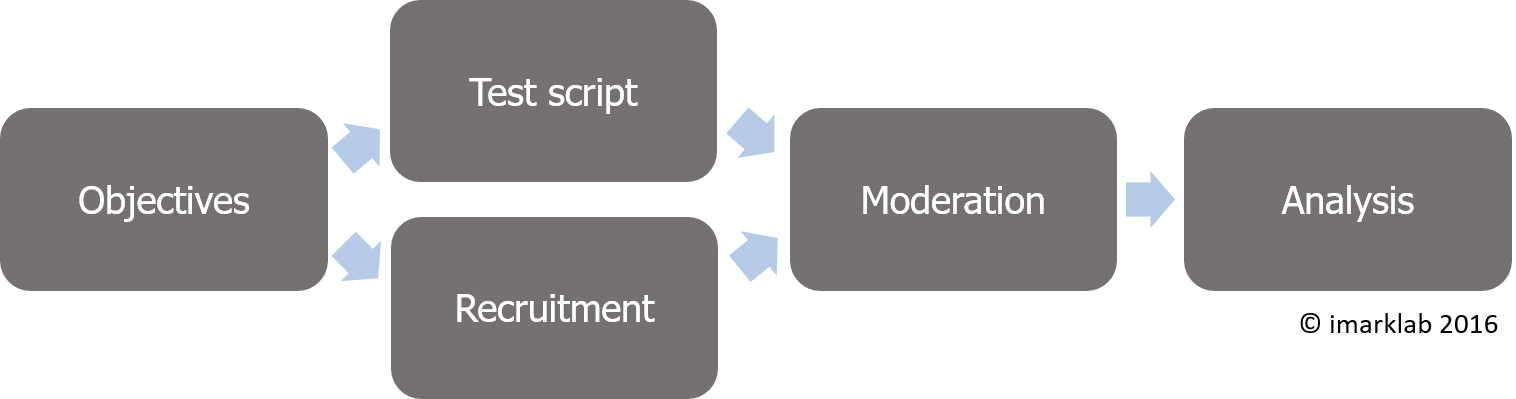
1. Set the objectives
The first step is to decide what information you want to collect. For example, are you evaluating the purchase process specifically or are you mainly focused on general appreciation? Those information needs can be turned into objectives.
It’s also at this stage that you should decide on the user profile you will invite to participate. We call that recruitment criteria. You can include dimensions such as client status (current client, prospect, former client), demographic profile (age group, gender, etc.) and anything else relevant to your business.
2. Write the test script
The script is the moderator’s bible and will be a guide throughout the test. It must be detailed. Here are some of the important items you should include:
- Scenarios and tasks that will be carried out by users.
- An indication of the paths available on the website. It will help the moderator follow the user’s navigation without getting lost.
- Important stuff to investigate verbally based on the objectives set on stage 1 (e.g., buttons related to the purchase process).
- A reminder checklist for before, during and after the test (e.g., start the recording).
- Questions, even detailed surveys in some cases, to ask at the end of the test.
3. Recruit participants
While you are working on the test script, you should also start recruiting participants. This step is crucial. For a usability test to be worth anything, it has to be done with the right users. Some organizations try to reduce cost by inviting friends and family. Don’t! You will save money, but it’s not worth it. The whole point of usability testing is to meet with real clients and users. If you don’t, you risk to take decisions based on the wrong data.
4. Moderate the tests

Moderation is an art, be it in one-on-one interviews or focus groups. First, as a moderator, keep from directing the users in their navigation. It can be a test of patience, especially when users scroll in front of THE button without seeing it. Keep in mind that in a real situation, there won’t be a moderator to help. You should also keep from directing answers with your questions, even if you are pretty sure what users will say. In other words, never presume to know what the user thinks!
During the tests, the moderator isn’t the only one working: there should be someone taking notes. The better the note taking, the easier (and faster) the analysis will be. The note taker can observe the test behind a one-way mirror, as is common in focus group facilities. There can also be observers following remotely through online software. In some rare cases, the note taker can stand in the same room. We generally don’t recommend that option as it can be intimidating.
5. Analyze
Analysis is hard work – it’s not unusual to have over 15 hours of recording to work with. That’s why live note taking is so important.
Analysis should be focused on the objectives set in step 1. Usability tests can be used to assess any interface in the slightest detail, which can be a trap when you lose perspective on the big picture. Don’t hesitate to comment on details (location of buttons, wording, etc.) but the overall experience should be your main concern. Make sure it’s coherent, easy and enjoyable.
***
Looks simple enough, right? For those of you who were already thinking of doing usability tests, this summary will help you. For those who are not yet convinced, let me say this: do usability tests once and you will never go back. Direct user feedback is just too valuable to do without!


